Introduction:
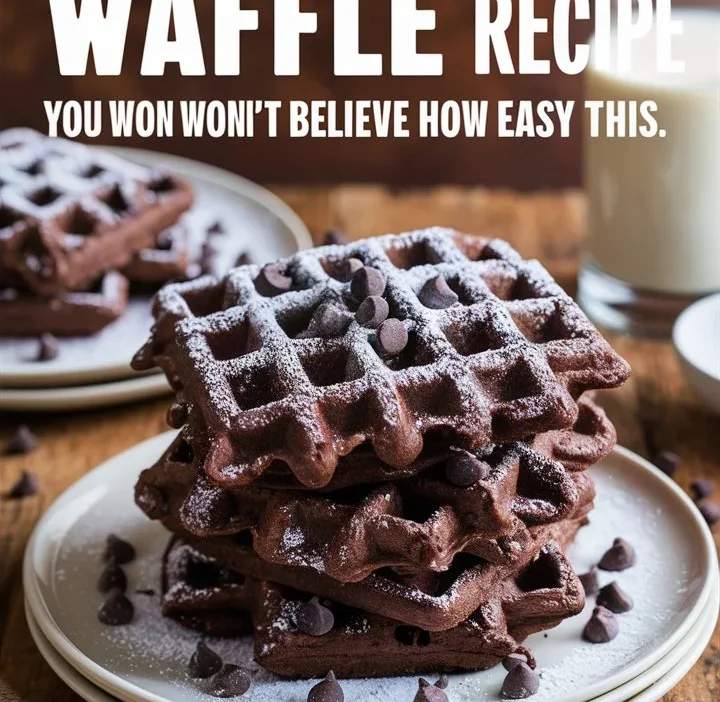
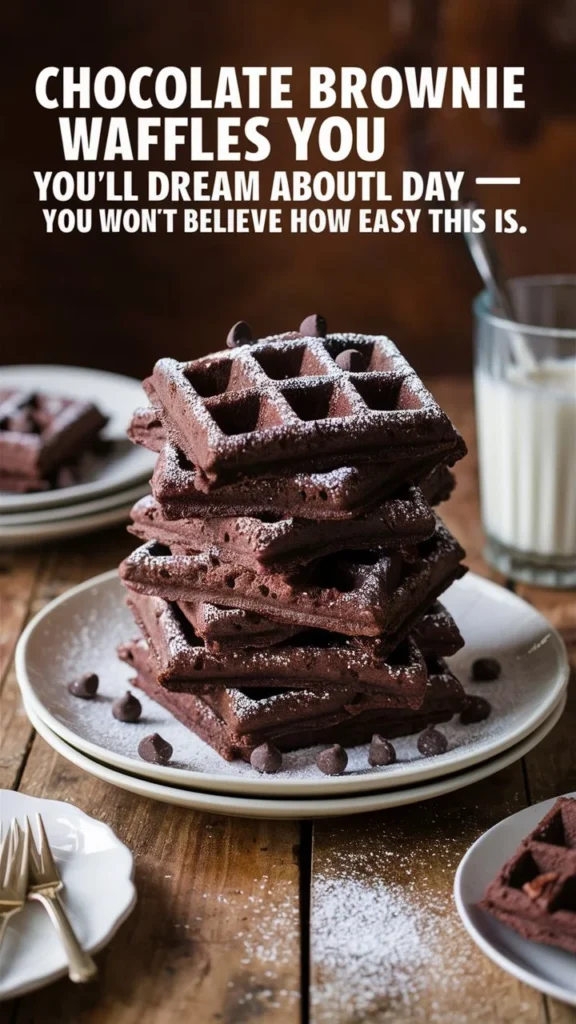
Imagine waking up to the smell of warm, chocolatey waffles that taste just like brownies. Sounds like dessert for breakfast, right? Well, with Brownie Waffles, that dream becomes a reality. This recipe combines the crispy edges of golden waffles with the gooey, fudgy center of brownies, resulting in the ultimate comfort food hybrid.
Whether you’re planning a cozy weekend brunch, treating yourself to a midnight snack, or surprising the family with an indulgent breakfast, these brownie waffles are guaranteed to impress. They deliver a rich chocolate punch with every bite, all while being easy to prepare and completely customizable. You can serve them plain for a quick chocolate fix or dress them up with toppings like whipped cream, fresh berries, or ice cream for a full-on dessert experience.
In this in-depth guide, you’ll discover why brownie waffles are trending on social media and in home kitchens alike. We’ll cover step-by-step instructions, pro tips for texture perfection, creative variations, topping ideas, and expert hacks to ensure your brownie waffles come out amazing every single time.
5 Irresistible Reasons to Make Brownie Waffles Today
1. The Best of Both Worlds: Brownies + Waffles
Can’t decide between baking brownies or making waffles? Now you don’t have to choose. Brownie waffles combine the crispy texture of waffles with the gooey richness of brownies, delivering the best of both treats in one bite.
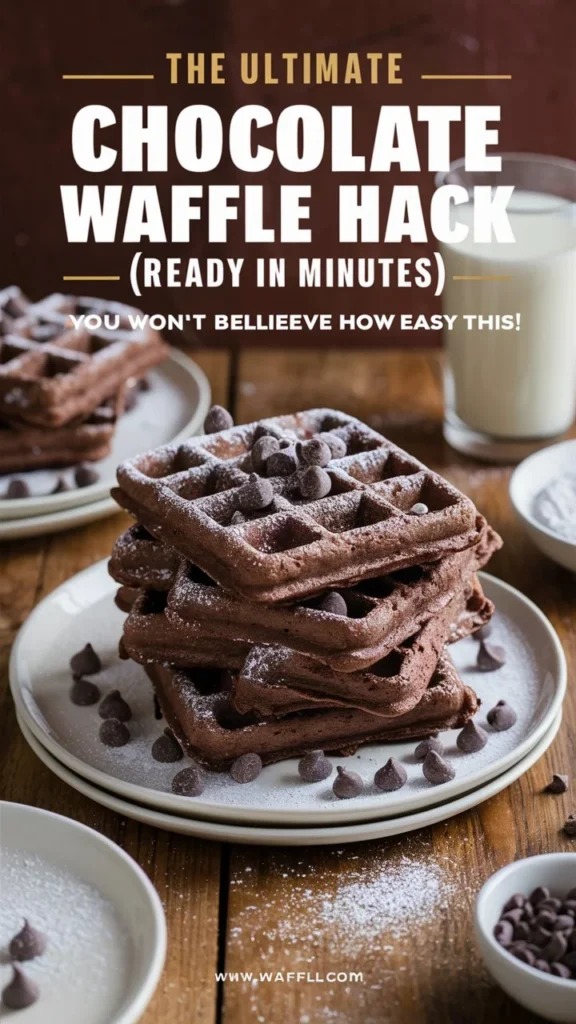
2. Quick & Easy to Make
Unlike traditional brownies that require baking and cooling, brownie waffles come together in less than 15 minutes from start to finish. All you need is a waffle iron and simple pantry staples.
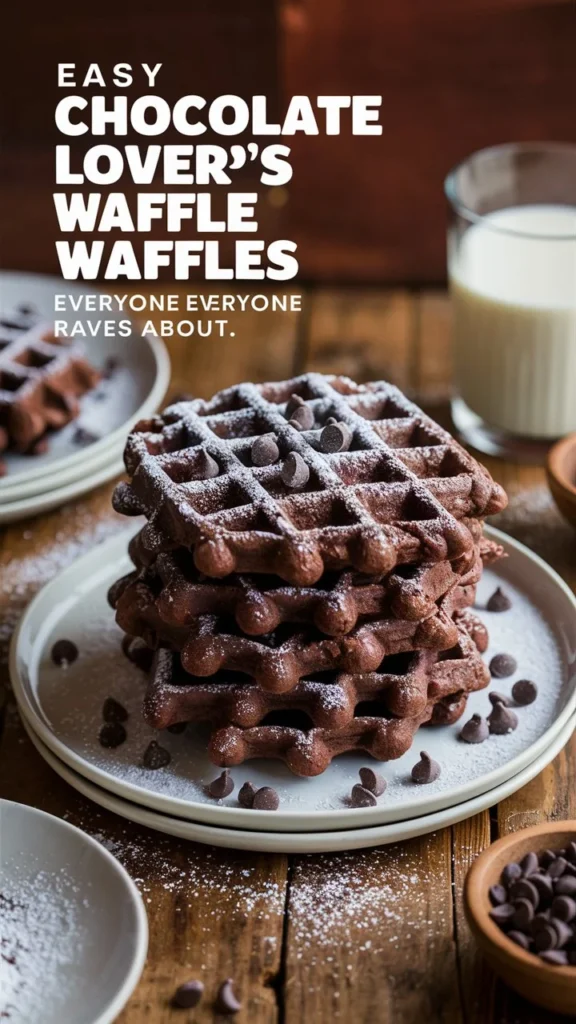
3. Crowd-Pleasing Chocolate Flavor
These waffles are packed with deep cocoa flavor and melty chocolate chips, making them a hit with kids and adults alike. Whether it’s a special breakfast, a brunch party, or a late-night dessert, they’re always a crowd favorite.
4. Endless Topping Options
From whipped cream and strawberries to ice cream and caramel drizzle, brownie waffles are the perfect base for creative toppings. You can customize each serving for breakfast, dessert, or anything in between.
5. Make-Ahead Friendly
Brownie waffles freeze and reheat beautifully, so you can meal prep a batch and enjoy them anytime. Pop them in the toaster or air fryer for a warm, crispy treat in minutes.
Ingredients Table for Brownie Waffles
| Ingredient | Quantity | Purpose |
| Butter (melted) | ½ cup | Rich flavor and moisture |
| Granulated sugar | 1 cup | Sweetness & crisp edges |
| Eggs | 2 large | Structure & fudgy texture |
| Vanilla extract | 1 tsp | Flavor enhancer |
| Unsweetened cocoa powder | ⅓ cup | Deep chocolate flavor |
| All-purpose flour | ½ cup | Structure & balance |
| Salt | ¼ tsp | Balances sweetness |
| Baking powder | ¼ tsp | Lightens the batter slightly |
| Mini chocolate chips (optional) | ⅓ cup | Extra gooey chocolate pockets |
| Nonstick spray or melted butter | As needed | Greasing the waffle iron |
Ingredient Notes & Substitutions
- Butter: You can substitute coconut oil or plant-based butter for a dairy-free version.
- Sugar: Coconut sugar or monk fruit sweetener works for lower glycemic options.
- Flour: Swap for gluten-free 1:1 flour to make this recipe gluten-free.
- Cocoa Powder: Use Dutch-processed cocoa for a richer flavor.
- Chocolate Chips: Optional but highly recommended for chocolate lovers.
Step-by-Step Instructions: How to Make Brownie Waffles
Step 1: Preheat & Prep
- Preheat your waffle iron according to the manufacturer’s instructions.
- Spray or brush with nonstick spray or melted butter to prevent sticking.
Step 2: Mix Wet Ingredients
- In a large bowl, whisk melted butter and sugar until smooth.
- Add the eggs and vanilla extract, whisking until slightly frothy.
Step 3: Mix Dry Ingredients
- Sift in cocoa powder, flour, salt, and baking powder.
- Gently stir until no dry spots remain. Do not overmix—this keeps the waffles tender.
Step 4: Add Chocolate Chips
- Fold in mini chocolate chips for extra gooey texture (optional but recommended).
Step 5: Cook the Waffles
- Scoop batter into the preheated waffle iron. Use about ¼ cup of batter per waffle square (or adjust for your iron size).
- Cook for 3–4 minutes or until the waffles are set but still slightly soft in the center.
- Carefully remove the waffles with a spatula.
Step 6: Serve & Enjoy
- Serve warm with your favorite toppings (see below for ideas).
Pro Tips for Perfect Brownie Waffles
- Use Room-Temperature Ingredients: Helps the batter mix evenly.
- Don’t Overmix: Stir just until combined to keep the texture fudgy, not cakey.
- Preheat the Waffle Iron Fully: A hot waffle iron gives crispy edges and a gooey middle.
- Let Waffles Rest for 1 Minute: This helps them set without losing softness.
Common Mistakes to Avoid
| Mistake | Why to Avoid It |
| Overloading the waffle iron | Batter spreads—use a modest scoop. |
| Not greasing the waffle iron | Chocolate sticks easily! |
| Skipping the salt | Salt enhances the chocolate flavor. |
| Using cold butter or eggs | Causes uneven mixing and texture. |
| Overcooking | You want fudgy, not dry waffles. |
Serving Ideas: Toppings & Sauces to Elevate Brownie Waffles
| Topping | Why It Works |
| Fresh strawberries & whipped cream | Classic, light contrast to rich chocolate |
| Vanilla or coffee ice cream | Creates brownie sundae waffles |
| Warm caramel or chocolate sauce | Extra indulgence |
| Chopped pecans or walnuts | Adds crunch |
| Nutella or peanut butter drizzle | Salty-sweet perfection |
| Sliced bananas & cinnamon | Comfort food twist |
You can also set up a DIY waffle bar for brunch parties!
Creative Variations
| Variation | How to Make It |
| Gluten-Free | Use 1:1 gluten-free flour blend |
| Vegan | Use flax eggs and plant-based butter |
| Low Sugar | Swap sugar for erythritol or monk fruit |
| Mocha Waffles | Add 1 tsp instant espresso powder |
| Spicy Mexican Chocolate | Stir in a pinch of cayenne |
| Mint Chocolate | Add ¼ tsp peppermint extract |
Nutrition Information (Per Waffle)
| Nutrient | Amount (Approximate) |
| Calories | 320 |
| Protein | 5g |
| Carbohydrates | 35g |
| Sugars | 20g |
| Fat | 18g |
| Fiber | 3g |
| Sodium | 150mg |
Note: Nutrition will vary based on toppings and mix-ins.
Storage & Reheating Tips
| Storage Method | How to Do It |
| Refrigerator | Use a toaster, air fryer, or oven for crispness |
| Freezer | Freeze between parchment layers up to 2 months |
| Reheating | Use toaster, air fryer, or oven for crispness |
Avoid microwaving if you want to keep the crispy edges.
Are Brownie Waffles Good for Special Occasions?
Absolutely! These waffles are perfect for:
- Birthday breakfasts
- Holiday mornings (Christmas, Valentine’s Day, Mother’s Day)
- Dessert buffets or brunch parties
- Sleepover snacks
- “Just because” of chocolate cravings
They’re impressive enough for a celebration but simple enough for a lazy weekend.
FAQs About Brownie Waffles
Can I use boxed brownie mix?
Yes! Prepare the mix as directed, then use about ¼ cup of batter per waffle. Cook as usual.
Do brownie waffles need baking powder?
Yes. Baking powder gives a little lift, so the waffles aren’t too dense.
Can I make them ahead?
Yes! Store in the freezer and reheat in the toaster or air fryer for quick chocolate treats.
Are they supposed to be gooey inside?
Yes! The goal is crispy outside, fudgy inside—like a perfect brownie.
What waffle iron works best?
Both standard and Belgian-style irons work. Belgian waffles will be thicker and extra indulgent.
Final Thoughts: Why You’ll Fall in Love with Brownie Waffles
If you’re looking for the ultimate chocolate treat that’s easy to make, brownie waffles are the answer. They’re crispy, gooey, rich, and completely irresistible—perfect for breakfast, dessert, or anytime you need chocolate comfort food fast.
Make them for your next brunch, surprise your kids with a chocolate waffle night, or freeze a batch so you’re never far from a warm, fudgy indulgence.
So go ahead, fire up your waffle iron and enjoy the best of both worlds. Brownies + waffles = pure chocolate joy.